Newsletter Subscribe
Enter your email address below and subscribe to our newsletter
Enter your email address below and subscribe to our newsletter


Elevate Your Space, Everyday.
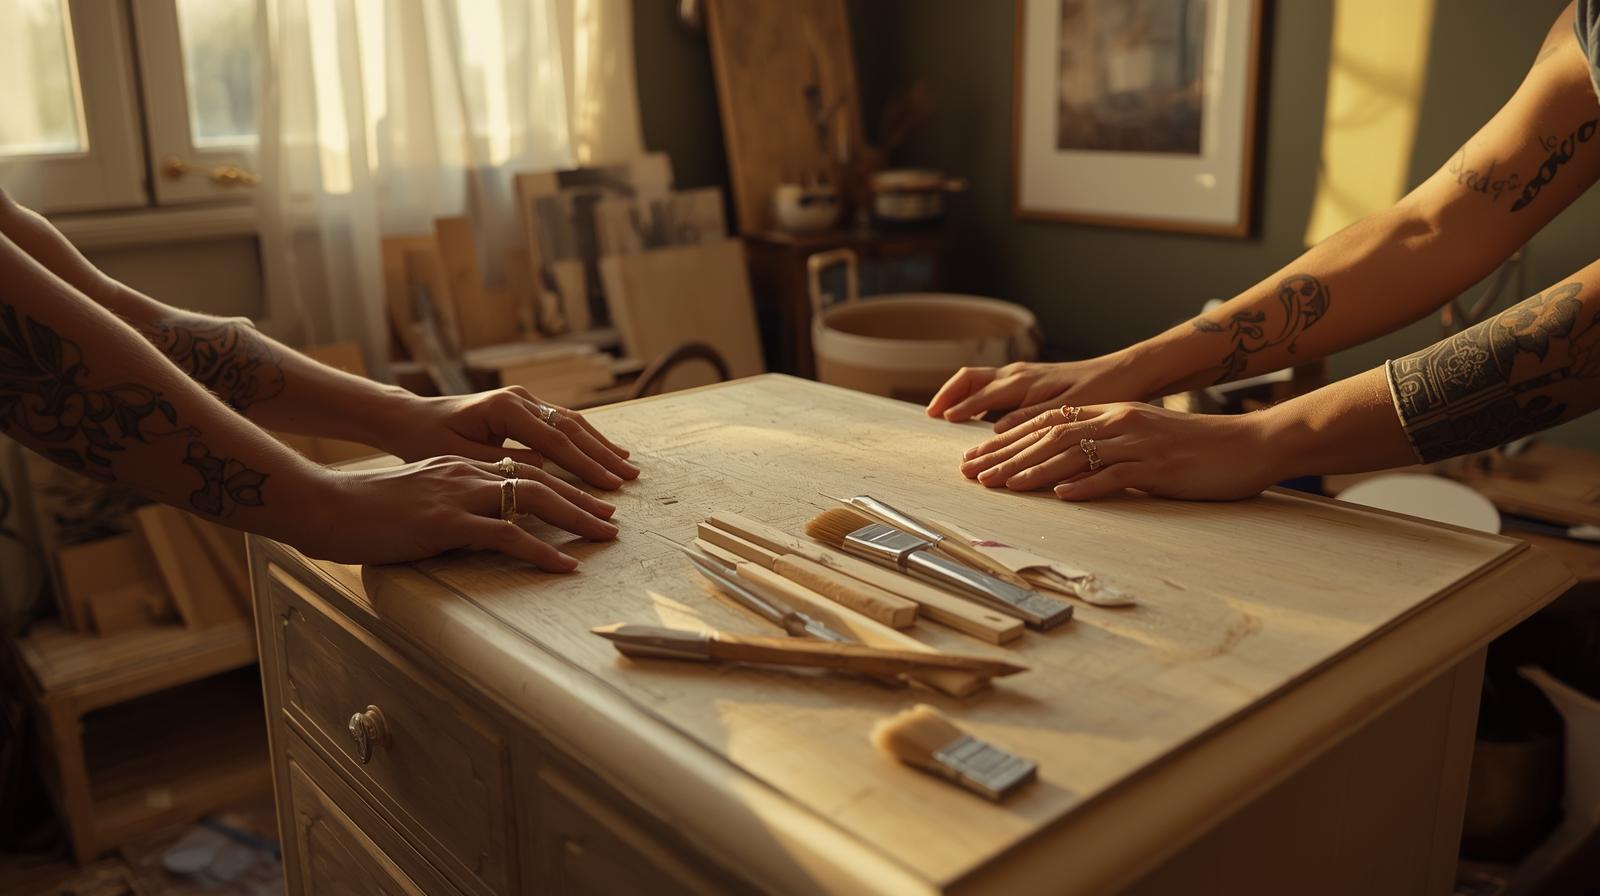
Save money and the planet by upcycling old furniture. Creative ideas to refresh tired pieces with paint and hardware.
Got a piece of old furniture shoved in the garage or hiding in the basement—solid wood, decent bones, but so outdated or beat-up you can’t bear to look at it? Before you call the dump or shell out for brand-new, ask yourself: what if a few smart moves could turn that eyesore into your favorite statement piece?
Most “junk” furniture isn’t junk at all—it’s raw material waiting for a second life. Upcycling old furniture isn’t just about saving money (though it does); it’s about respecting craftsmanship, reducing waste, and making your space truly yours. With the right approach, that chipped dresser or wobbly chair can become the centerpiece of your room. Let’s get it done—no fancy tools, no designer markup, just honest work and smart choices.
Walk into any big-box store and you’ll see “solid wood” labels slapped on particleboard glued together with formaldehyde-laced resin. It’s built to last a season, not a decade. Real furniture—the kind your grandparents owned—was made with joinery, not staples. Upcycling gives you actual durability without the inflated price tag.
Every year, millions of tons of usable furniture end up in landfills. That oak dresser you’re eyeing? It took 60 years to grow. Tossing it isn’t just wasteful—it’s disrespectful. Plus, reclaimed wood often has grain patterns and patina you simply can’t buy new. It tells a story. Your living room shouldn’t feel like a showroom—it should feel lived-in, layered, real.
There’s something deeply satisfying about fixing something with your own hands. You learn how things are built. You gain confidence to tackle bigger projects. And when guests ask, “Where’d you get that?”—you don’t say “Wayfair.” You say, “I made it.” That pride doesn’t fade. Cheap furniture does.
Give it a shake. A little wobble? Fixable. A leg that nearly comes off? Maybe. But if the frame groans like an old floorboard or joints are visibly separating, walk away unless you’ve got serious woodworking skills. Good structure is non-negotiable.
Hardwoods like oak, maple, and walnut hold up beautifully. Wrought iron won’t rust through if treated right. Solid brass hardware? It patinas, not corrodes. These materials improve with age. (And if you’re unsure about wood types, check our guide on sustainable-furniture-materials—it breaks down what’s worth saving.)
Mold in the crevices? Skip it—health risk. Veneer peeling off like old wallpaper? Not worth the hours of patching. Termite damage that looks like Swiss cheese? No. Save your energy for pieces with soul and solidity.
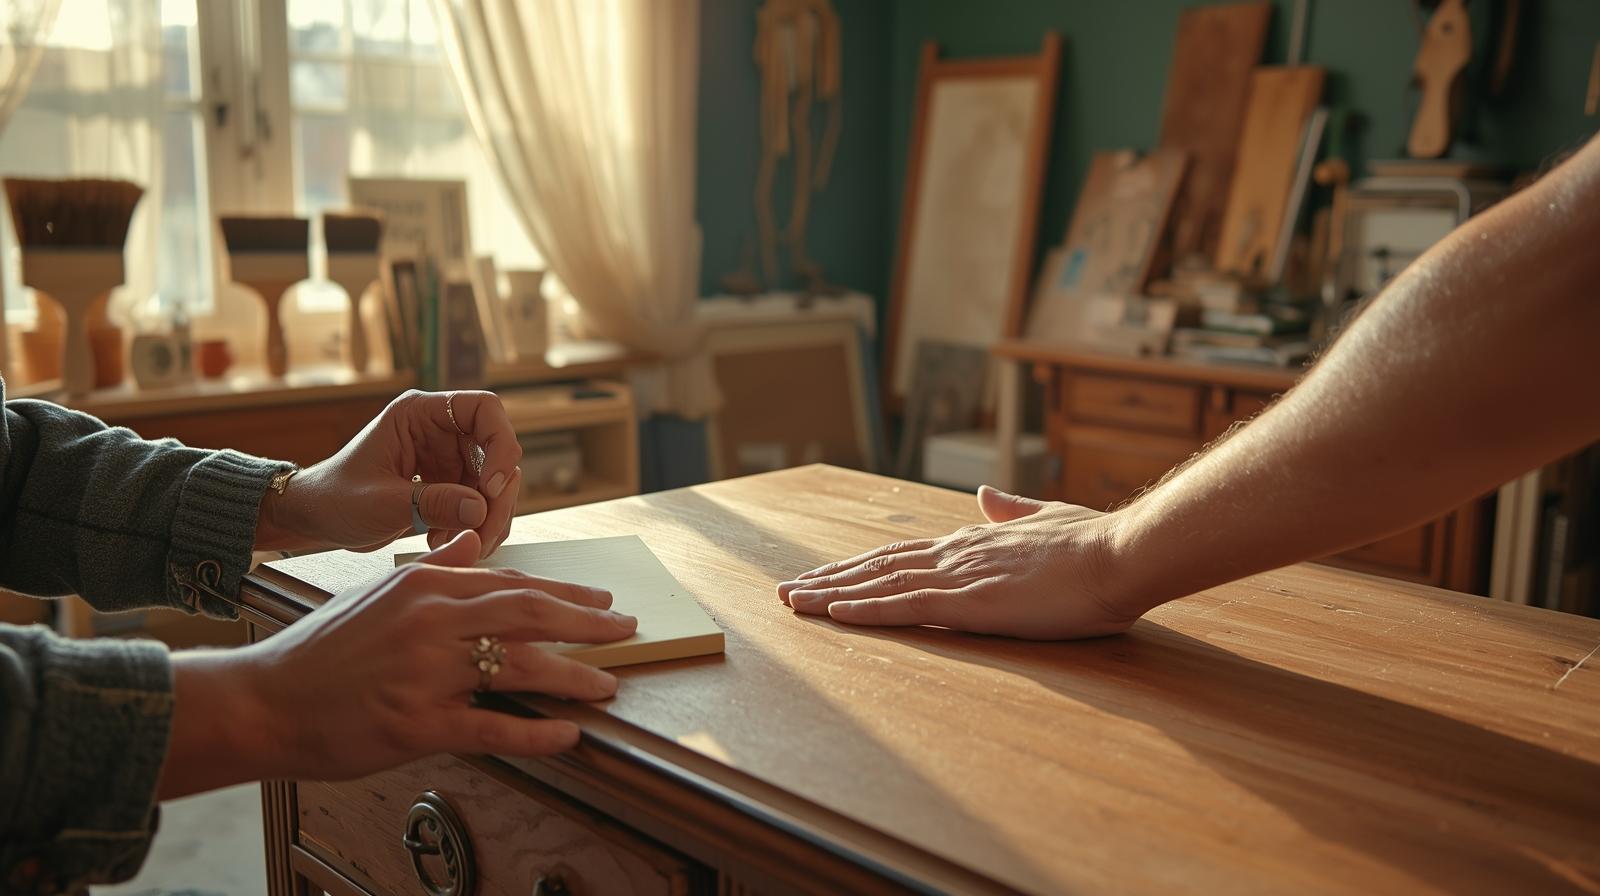
Dust and grime hide in every groove. Start with warm water and dish soap. For grease buildup (common on kitchen hutches), add a splash of white vinegar or a degreaser like Krud Kutter. Stubborn water rings or ink stains? Try oxalic acid—it’s cheap, effective, and won’t strip wood like bleach.
Fill cracks and dents with wood filler matched to your base color. Clamp loose joints overnight with wood glue—Titebond II is my go-to. Don’t rush this. A shaky foundation ruins even the prettiest paint job.
Start coarse (80 grit) to level surfaces, then move to medium (120), and finish with fine (220). Stop when it feels smooth to the touch—not glassy. Over-sanding rounds edges and kills character. You’re not building a piano; you’re reviving a dresser.
If it’s pine or poplar with bland grain, paint away. But if you’ve got walnut or cherry with swirling grain? Sand it clean and oil it instead. Respect the wood. Painting over gorgeous grain is like wearing a paper bag over a tailored suit.
Chalk paint adheres without priming but chips easily unless sealed. Milk paint gives that authentic aged look but requires mixing. Latex? Durable, affordable, and widely available—but always sand first and use a bonding primer on glossy surfaces. My pick for beginners: Behr Premium Plus Ultra in satin. $30, lasts years, and covers in two coats.
For solid hardwood pieces, stripping old finish and re-staining often beats painting. Use mineral spirits to test how the wood looks wet—that’s close to its stained potential. Minwax Early American or Provincial bring warmth without overwhelming. (Need brush tips or drying hacks? Our painting-tips-for-beginners guide covers it all.)
I once turned old cabinet pulls into drawer handles using nothing but a hacksaw and sandpaper. Thrift stores often have bins of hardware for $1 each. Etsy sellers specialize in vintage brass pulls—$3–$5 a pair. Look for consistent shape, not perfect condition. A little wear adds authenticity.
Remove knobs, clean with soapy water, let dry. Lightly scuff with steel wool. Spray with Rust-Oleum Universal Metallic in Oil-Rubbed Bronze. One coat. Dry 15 minutes. Reattach. Looks custom. Costs less than a latte.
No tape measure? Use a spare knob as a spacer. Line up the center of one hole with the edge of the next knob. Works every time. Keeps drawers looking clean, not chaotic.
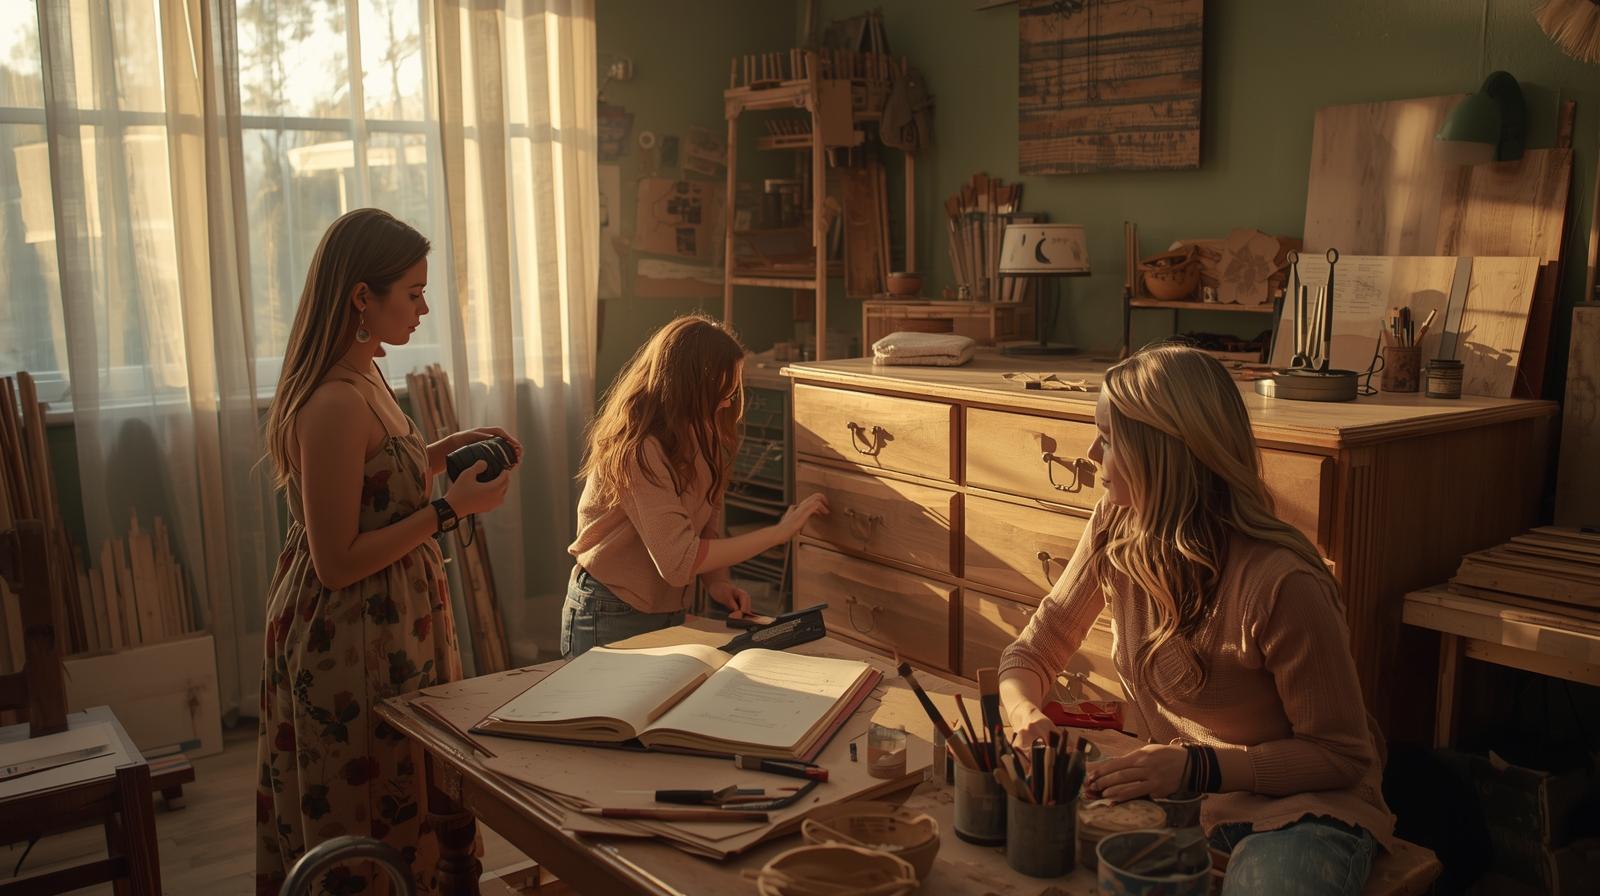
Don’t match everything. A refinished mid-century credenza next to a painted farmhouse table? Yes—if they share a color tone or material vibe. Avoid “theme overload.” One era per room is plenty.
The best rooms feel collected, not coordinated.
Balance color, texture, and era. A dark-stained dresser (color), a linen throw (texture), and a 1950s lamp (era) create depth without confusion. If your space feels off, check which element’s missing.
For more on sourcing complementary pieces, see our vintage-decor-hunt guide—full of flea market tricks and online search hacks.
Found it curbside. Drawers stuck. Finish sticky with decades of polish. Stripped with CitriStrip (non-toxic), sanded to 180 grit, stained with Minwax Dark Walnut. Replaced brass pulls with matte black bar handles from IKEA ($2 each). Now it holds clothes in a downtown apartment—clean lines, zero clutter.
Ratty porch chair. Mildew smell. Soaked it in vinegar-water solution, scrubbed with a toothbrush, dried in sun for two days. Sprayed with Rust-Oleum Painter’s Touch Ultra Cover in Linen White (outdoor formula). Added a thrifted cushion. Survived two summers. Still going.
Construction site dumpster. Solid-core door, six feet long. Sanded edges smooth, filled nail holes, applied two coats of tung oil. Bolted on $25 hairpin legs from Amazon. Seats six. Cost under $50. Took a Saturday.
Don’t tackle a full armoire on day one. Refinish a single shelf. Repaint a nightstand. One win builds momentum. You’ll learn what you like—and what you hate—without burning out.
Keep basics on hand: Titebond glue, 80/120/220 sandpaper, wood filler, a set of clamps, mineral spirits, and a quart of your go-to paint. Store it in a plastic tote. When you spot a candidate, you’re ready.
Finished a piece but it doesn’t fit your space? List it locally for cost-plus-labor. Better yet, trade with a neighbor. Closing the loop keeps good wood out of landfills—and builds community. (Yes, really.)
Upcycling isn’t about perfection—it’s about possibility. That old piece doesn’t need to be “museum quality” to earn its place in your home. It just needs you to believe it’s worth another shot. So grab your sander, mix up some paint, and prove that better living starts with what you already own.