Newsletter Subscribe
Enter your email address below and subscribe to our newsletter
Enter your email address below and subscribe to our newsletter


Elevate Your Space, Everyday.
Add character to any room with this DIY wall paneling guide. Simple steps for beginners to achieve a high-end look.
That rough grain of unfinished pine under your fingertips. The sharp tang of fresh wood in the air. The solid *thwack* of a mallet seating a panel tight against the wall. This is where real home improvement starts—not with a contractor’s invoice, but with your own two hands. DIY wall paneling costs less than you think, takes less time than you fear, and delivers more character than any flat wall ever could. Shiplap, board-and-batten, picture-frame molding—it all works. You don’t need to be a carpenter. You just need to start.
Your wall style should fit your life—not your Pinterest feed alone.
Shiplap (those overlapping horizontal boards) gives a clean, coastal, or farmhouse look. It’s forgiving on uneven walls because the overlaps hide minor flaws. Installation is straightforward—just nail or glue boards with a small gap between each. Cost? Around $1.50–$3 per square foot if you use pre-cut pine or even ripped-down fence pickets.
Board-and-batten is vertical—a series of wide planks (the “boards”) with narrow strips (“battens”) covering the seams. Bold. Architectural. Great for entryways or behind a bed. It’s slightly more measuring-intensive, but the result feels custom. Use 1x4s or 1x6s for boards, 1x2s for battens. Total material cost: similar to shiplap, maybe a bit less if you skip the tongue-and-groove.
Picture-frame paneling (also called wainscoting or box panels) uses molding to create rectangular frames on the wall. This one looks high-end but requires precise miter cuts and level lines. Best for formal dining rooms or offices. More time, more tools—but the payoff is serious sophistication. Start small: one wall, not four.
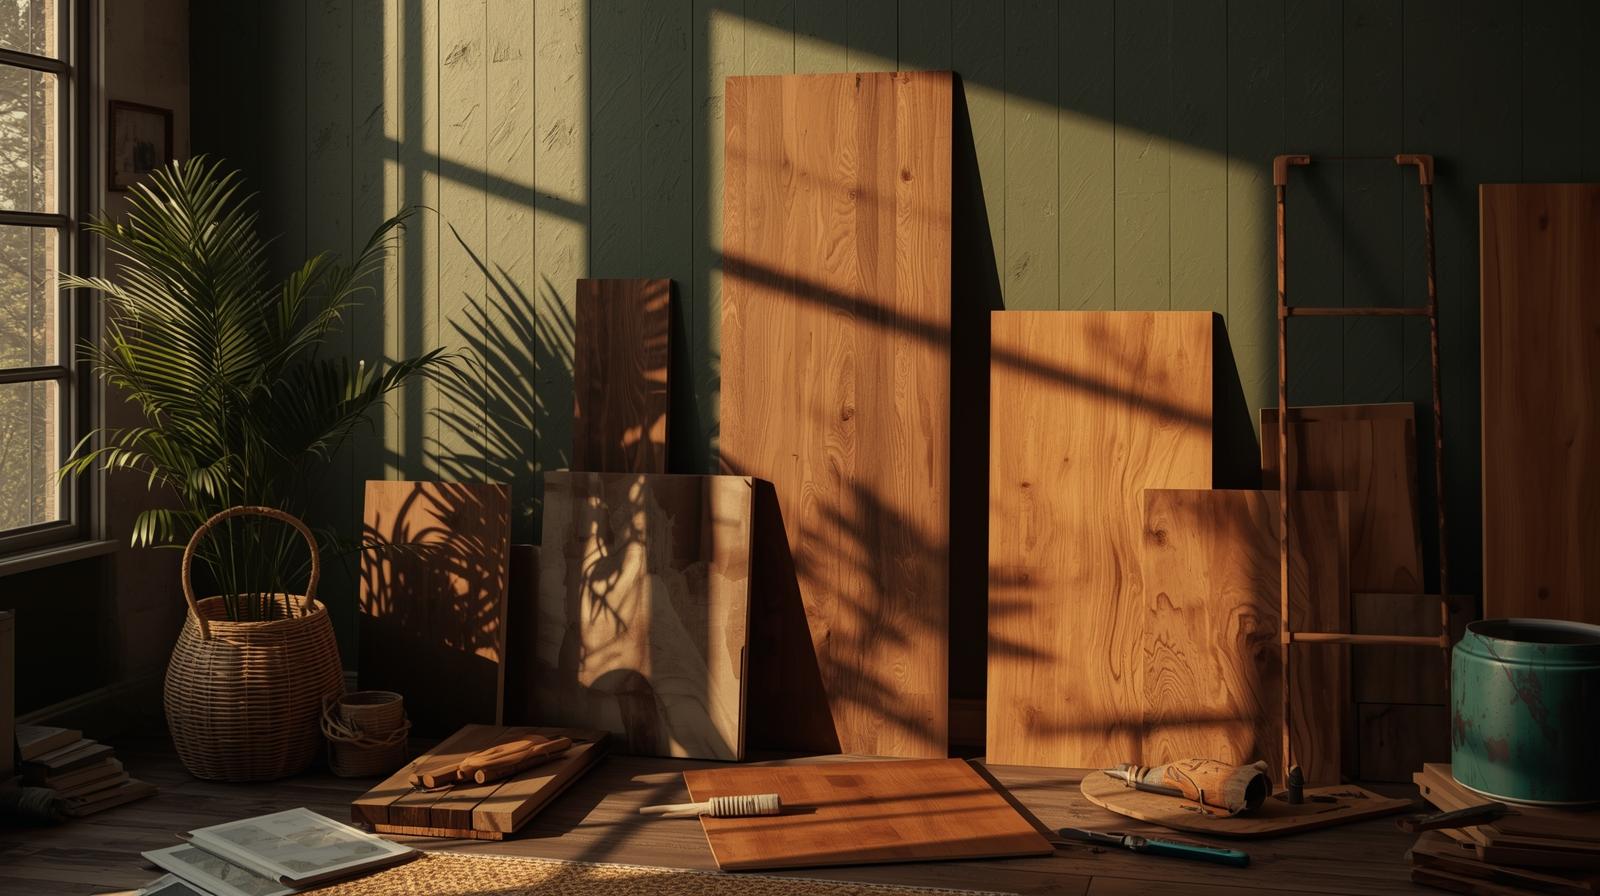
Real wood—like pine or poplar—feels honest. It smells right. It takes stain or paint beautifully. But it can warp if your house has wild humidity swings. And yes, it costs more.
MDF is smooth, consistent, and cheap. A 4×8 sheet runs $25–$40. But it’s heavy, swells if it gets wet, and doesn’t hold nails well near edges. Use it only in dry areas like bedrooms or living rooms—and always wear a mask when cutting it.
Plywood? The unsung hero. Use 1/4″ hardwood plywood (birch or maple), cut into strips. It’s stable, affordable, and lightweight. Paint it, and nobody will know it’s not solid lumber. I’ve used this trick in three rentals. Saved over $200 each time. (And yes, your guests still asked, “Did you hire someone?”)
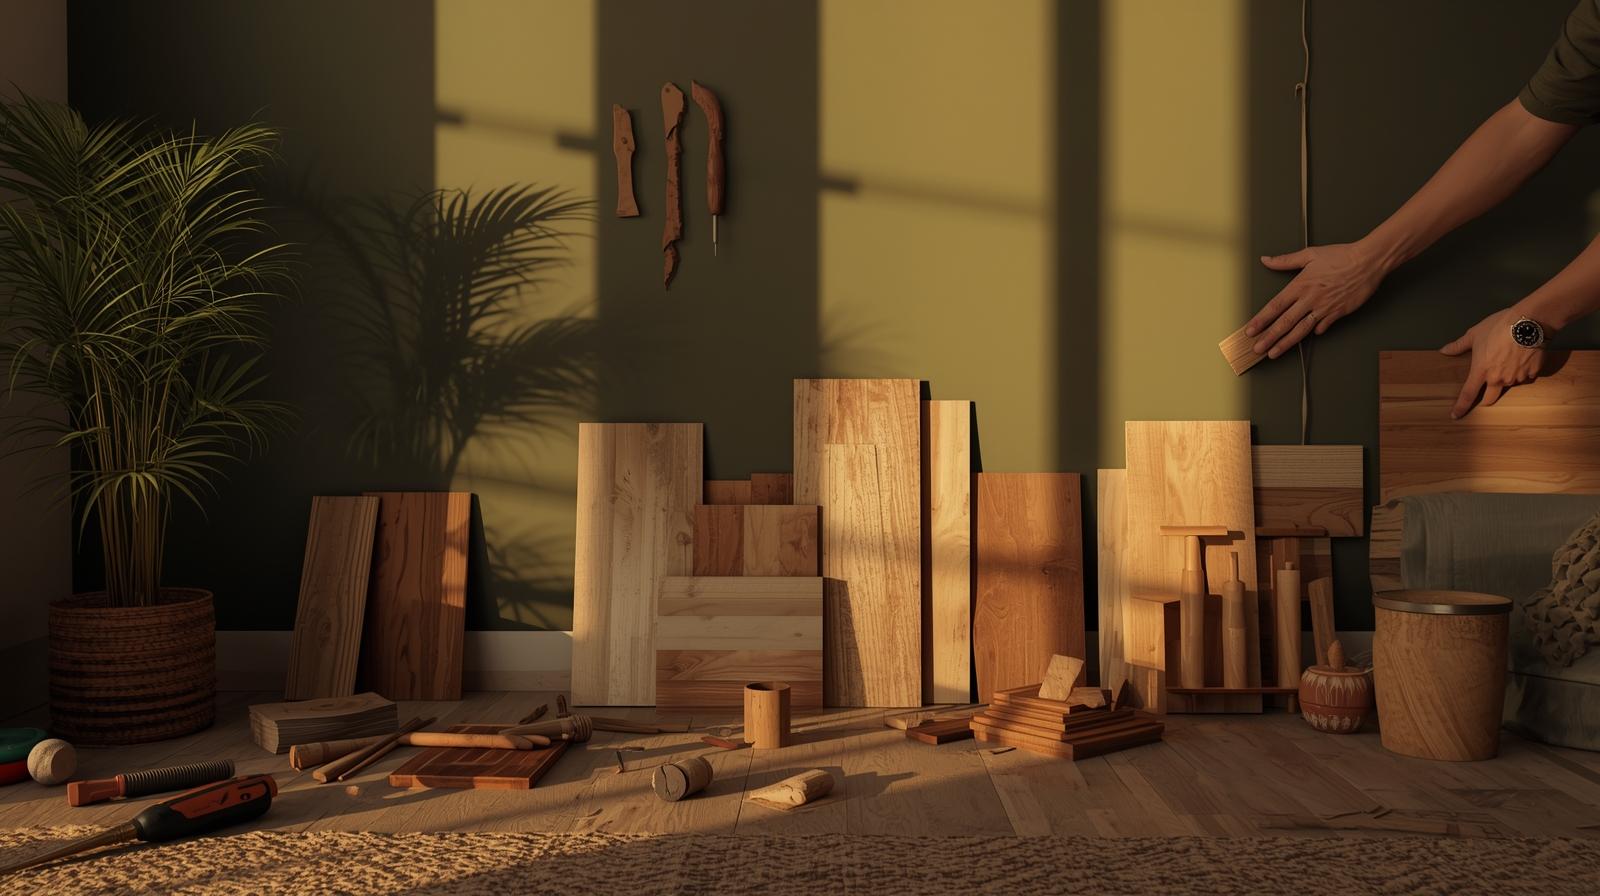
You don’t need a garage full of gear. Just six core tools—and half of them you probably already own.
A 25-foot tape measure. A 48-inch level (the longer, the truer). A basic electronic stud finder—$20 at the hardware store. A saw: a miter saw is ideal, but a circular saw or even a handsaw works for straight cuts. A nail gun speeds things up, but a hammer and 1-1/4″ finish nails get the job done. And a caulk gun for sealing gaps later.
If you’re renting—or just hate putting holes in walls—skip the nails where possible. Use construction adhesive (like PL Premium) to glue panels directly to drywall. It holds strong, and when it’s time to move out, you can pry panels off with a putty knife. Minimal damage. Full effect. (See our full guide to renter-friendly upgrades for more on this.)
That $150 brad nailer? Borrow it. Most neighbors are happy to lend tools for a weekend project—especially if you offer to return the favor (or bring over a six-pack). If not, rent one for $25/day. Don’t buy gear you’ll use once.
Rushing prep guarantees headaches later. Slow down now to speed up later.
Fill nail holes and dents with lightweight spackle. Sand until smooth. Wipe the wall down with a damp cloth—dust ruins adhesion. Then, find your studs. Mark them lightly in pencil every 16 inches. Panels anchored to studs won’t sag or pop loose.
Before cutting anything, lay out your design with painter’s tape on the wall. See how the spacing looks at eye level. Adjust before you commit. Once you cut, label each piece: “Left Wall, Top Row, Panel 3.” It sounds obsessive. It’s not. It’s what keeps you from holding up two identical-looking boards, wondering which goes where at 9 p.m.
This is where muscle meets method. Stay calm. Work systematically.
Always start at the top. Why? Floors are rarely level. Ceilings usually are. Begin your first row tight to the ceiling, use your level, and work down. Any gap that appears at the floor can be hidden with baseboard or a trim piece. Much easier than trying to fix a crooked top row.
For battens in board-and-batten, space them 16 inches on-center. That aligns with studs and looks balanced. Use 1-1/4″ finish nails. Drive them at a slight angle into the stud (this is called “toenailing”). Set the nail head just below the surface with a nail set. Fill with wood putty after. No visible holes. No blowouts. Just clean lines.
“If your panel moves when you tap it, it’s not secure enough.”
Uniform gaps make cheap materials look expensive. Sloppy gaps make everything look amateur.
A consistent 1/8-inch gap between boards lets wood expand and gives that crisp shadow line. Use spacers as you go: a penny (exactly 1/16″ thick—use two), a cut-up paint stir stick, or even toothpicks bundled together. Remove them after nailing. Don’t eyeball it. Your future self will thank you when the sun hits the wall at 3 p.m. and every line sings.
Caulk fills the tiny voids where panels meet walls or each other. But bad caulking—lumpy, uneven, too much—looks worse than no caulk. Use a paintable latex caulk. Cut the tip small. Run a thin bead. Smooth it with a damp finger or a caulk tool. Wipe excess immediately. Let it dry 24 hours before painting. (Pro move: watch our painting tips for beginners—smooth caulk lines are your primer for flawless paint.)
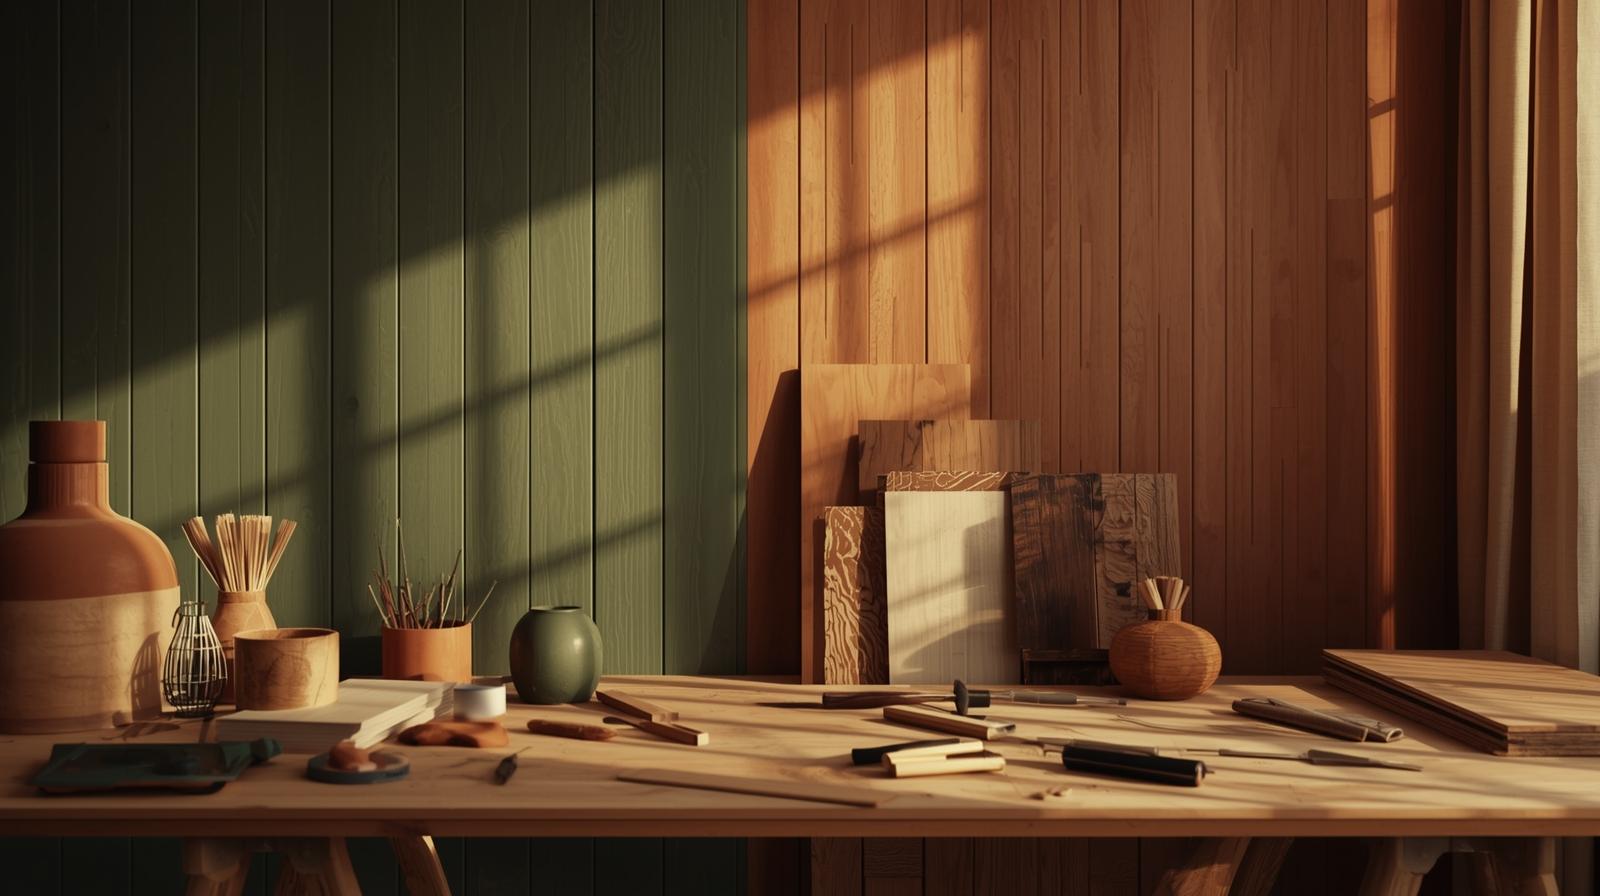
Paint transforms. But only if you do it right.
Raw wood bleeds tannins. MDF soaks up paint like a sponge and warps if unsealed. Always prime first. One coat of oil-based or high-build primer seals everything. Sand lightly after it dries. Then paint. Skipping this step saves 45 minutes now—and costs you a redo in six months.
Matte or flat paint hides wall imperfections but scuffs easily. Use it in low-traffic areas like bedrooms. Satin or eggshell has a soft glow, cleans well, and works everywhere else. A bold navy panel wall? Eggshell makes it rich without glare. (See more accent wall combos that actually work in real homes.)
You don’t need to own a home to add character.
Build your panel layout on a sheet of 1/2″ plywood first. Attach it to the wall using French cleats—two interlocking wooden strips, one on the wall, one on the panel. Strong. Reversible. Leaves only small screw holes. Or use heavy-duty adhesive strips (like those made for mirrors) for lightweight MDF panels. No nails. No stress. Full details in our renter-friendly upgrades guide.
Check your lease. Take timestamped photos of the wall before you start. Keep all original materials in case you need to restore the space. Better to ask permission than beg forgiveness—and lose your deposit.
You did it. Now let it breathe.
Don’t crowd the wall. One piece of art. A single sconce. Maybe a trailing pothos on a nearby shelf. The paneling is the feature. Treat it like art—not a backdrop for clutter.
Once you’re confident, try attaching floating shelves directly to battens. Or run LED tape lights along the top edge for ambient glow. But don’t jump ahead. Master the basics first. There’s no rush.
DIY wall paneling isn’t about perfection—it’s about personality. That slight wobble in your first batten? It’s proof you did it yourself. Now go touch that wall again. Feels different, doesn’t it?